Who likes snowflakes? I do!!!
Every snowflake is unique and that’s what makes them so special. Besides the fact that they look so delicate but are really strong enough to withstand strong winds.

I’d like to shoutout my testers for this pattern:
| Dianne Stover |
| Jamie Zerr |
| Lara Huey |
| Nicole Thompson |
These ladies did an awesome job. These tests are essential to making this pattern work for everyone. I always have all of my patterns tested so that you get a quality pattern every time.
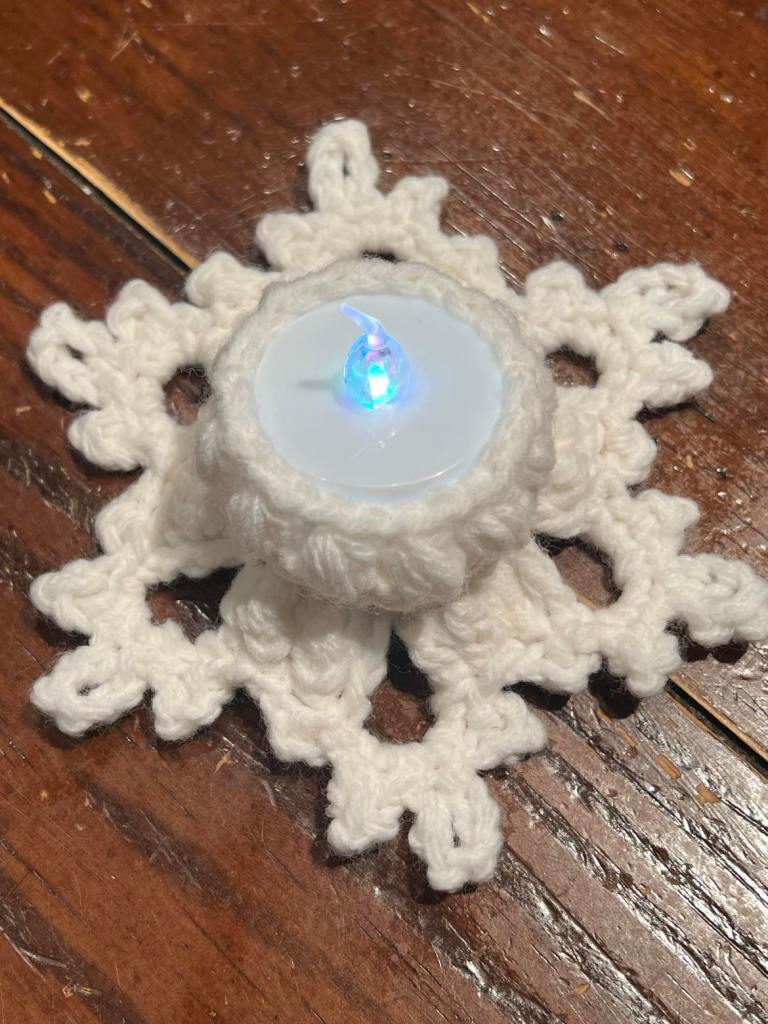
You can use any tealights for this pattern. I have tealights that change color and those work great for a white or silver yarn and make it festive. I would suggest if you are using a yarn that is variegated, you might want to use the plain tealights. However, make them how you like. That’s what makes the world so wonderful, variety and diversity!
Let’s start with what you need to make this delightful snowflake.
MATERIALS NEEDED:
Worsted Weight Yarn – Approx 20 yds
3.5mm hook
Scissors
Stitch Markers
Tapestry Needle
Tea Light

I’ve designed 2 different snowflake patterns for these tea lights. I’m only showing the first one here but you can get both of the patterns in a printable form at my Ravelry store here.
Stitches used and abbreviations:
Ch – chain stitch
St – stitch
Sc – single crochet
Hdc – half double crochet
Dc – double crochet
Tr – triple crochet
Pc – popcorn stitch
Sk st – skip stitch
Sl st – slip stitch
Inc – increase
Dec – decrease
BLO – back loop only
FO – Fasten off
Special Stitches:
Cluster – double crochet 3 sts together in the same st.
Hdc cluster – half double crochet 3 sts together in the same st.
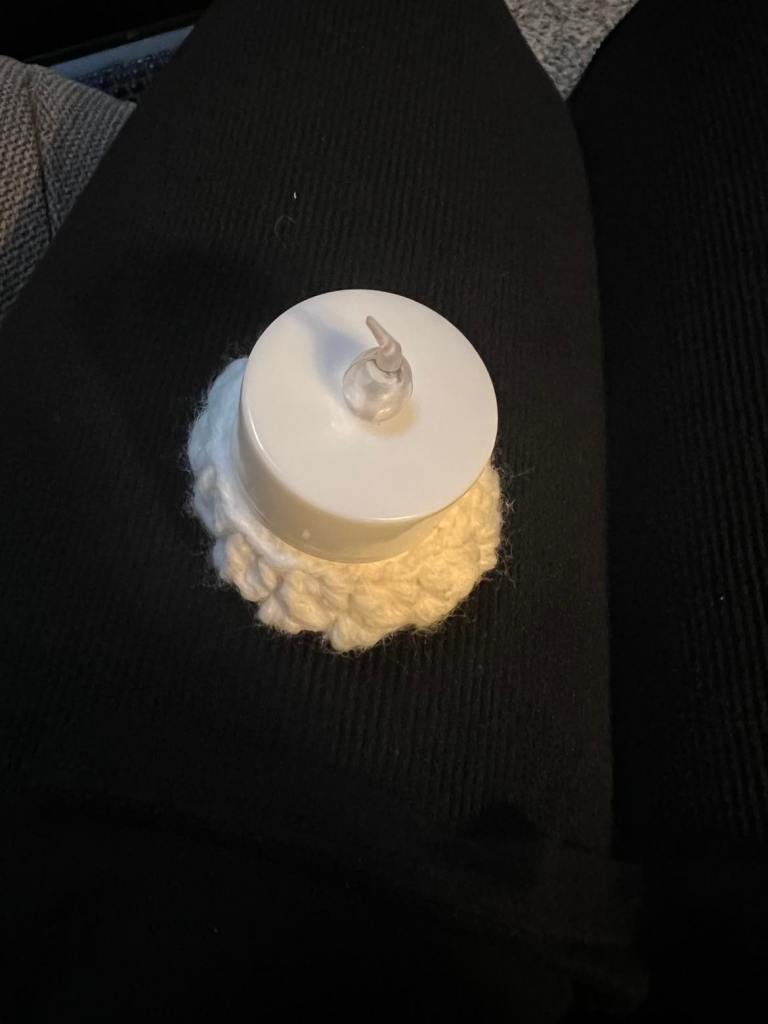
Tealight should fit inside comfortably. You can measure this by holding the tealight to the circle made to 18 sts and if it covers the bottom of the tealight, you’re good to go. If not, you will need to adjust your tension or go up or down a hook size.
Basic Cover
- MR, sc6 in the ring, DO NOT JOIN. (6)
- Inc in ea st. (12)
- *Sc, inc* x 6, join, sl st in next st. (18)
- BLO sc in ea st. (18)
- Ch2 [counts as a dc], dc dec in the same st as the ch2 making a cluster, ch1, sk st, *cluster, ch1, sk st* x 8, join. (9 clusters, 9 chs)
- Ch1, crab st in ea st and ch around, inv join, weave in end. (18)
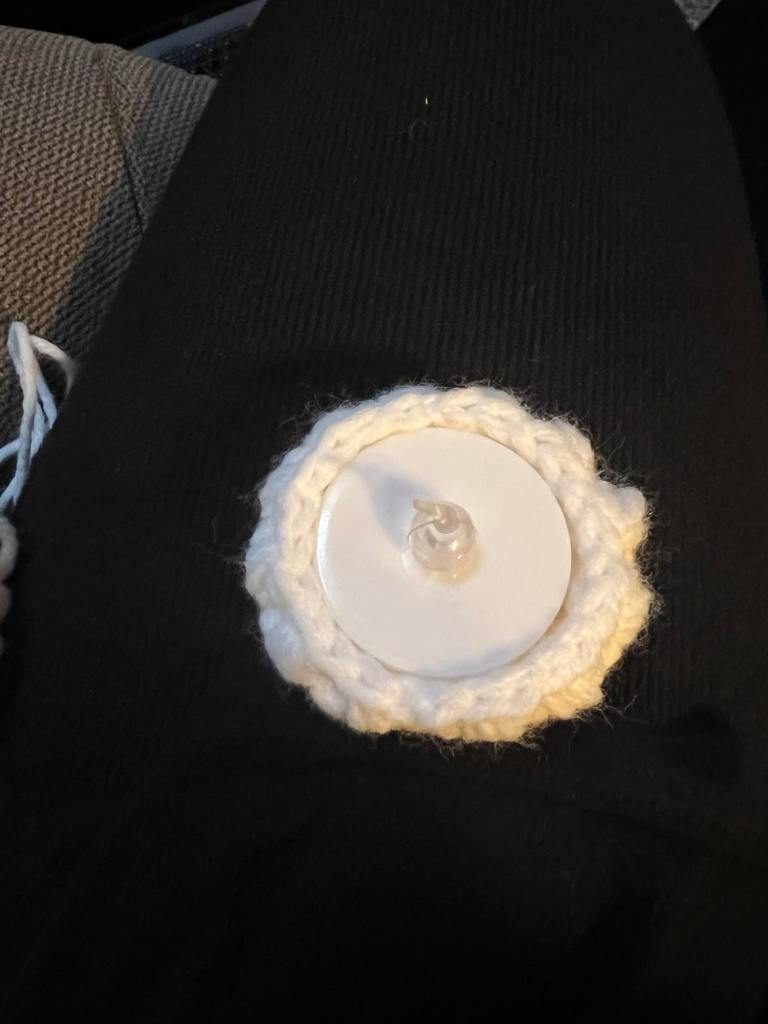
The crab stitch is simply single crochets done counter clockwise instead of clockwise.
Snowflake
- Attach yarn to front loop of Round 3 with the opening of the cover facing down. Ch1, *sc2, inc* x 6, join. (24)
- Ch1, sc in the same st, *Ch6, sk st, sc, ch5, sk st, sc* x 5, ch6, sk st, sc, ch3, sk st, dc in the 1st sc st.. (12 ch sps)
- Ch1, sc in the same ch sp, *ch2, in the next ch6 sp, [dc2, picot (4 chs), tr, picot (7chs), tr, picot (4 chs), dc2], sc in the next ch5 sp* repeat to the end of the round, sl st in the beginning sc, fo, weave in ends.

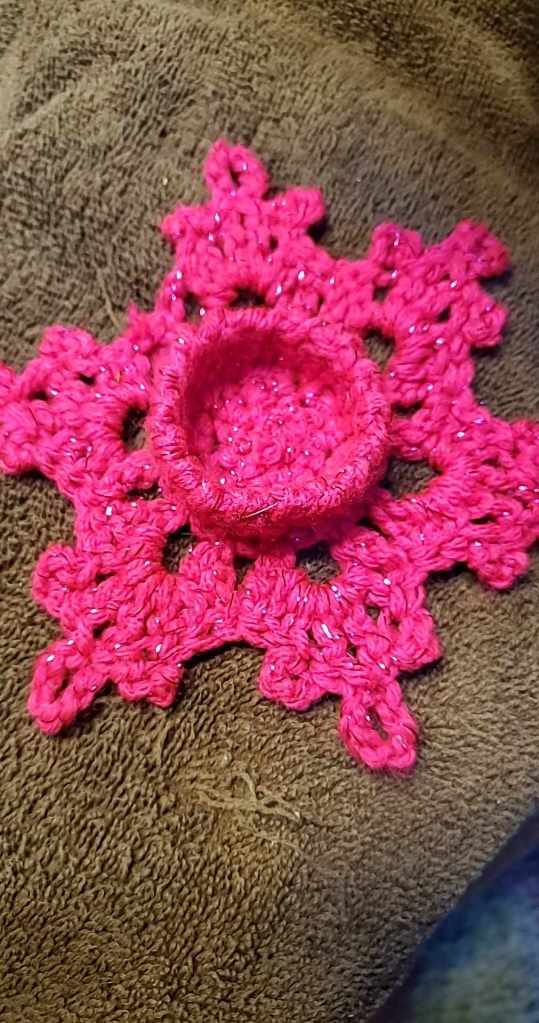
Block to make it lay flat.
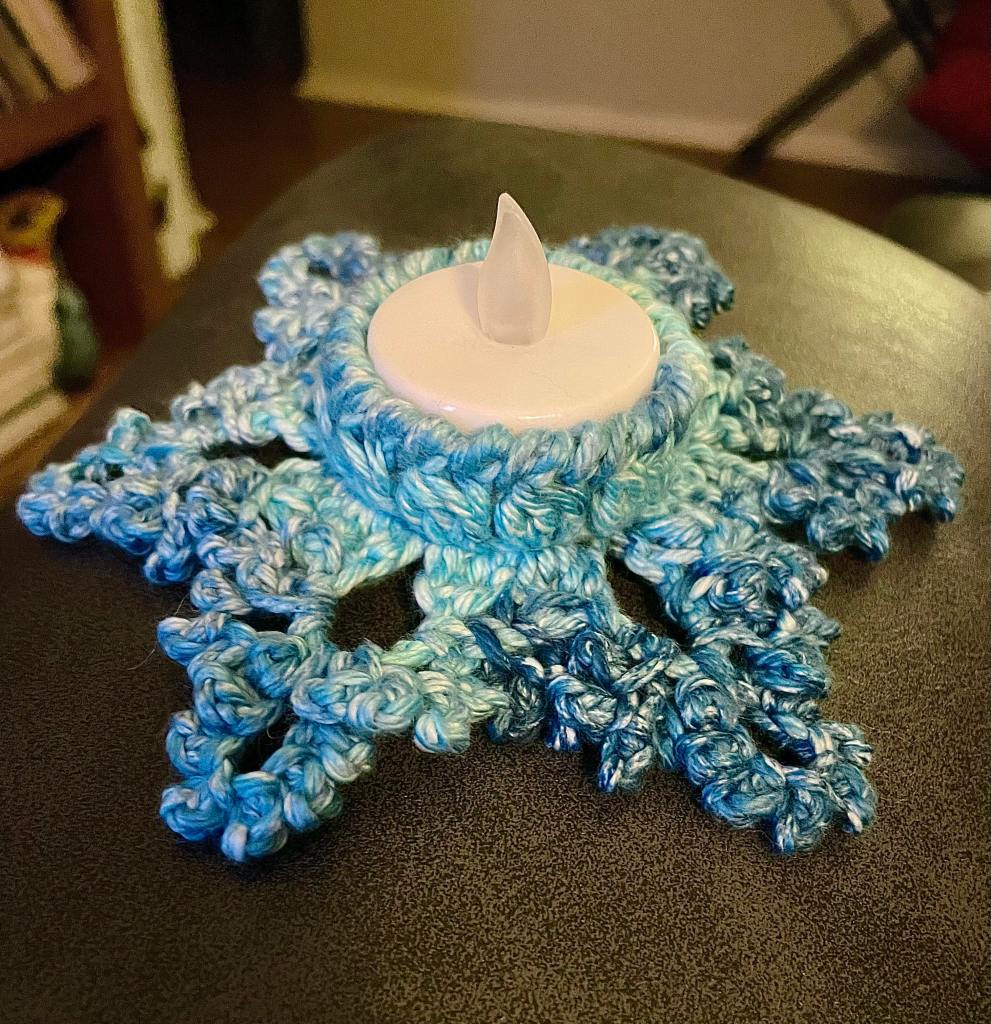
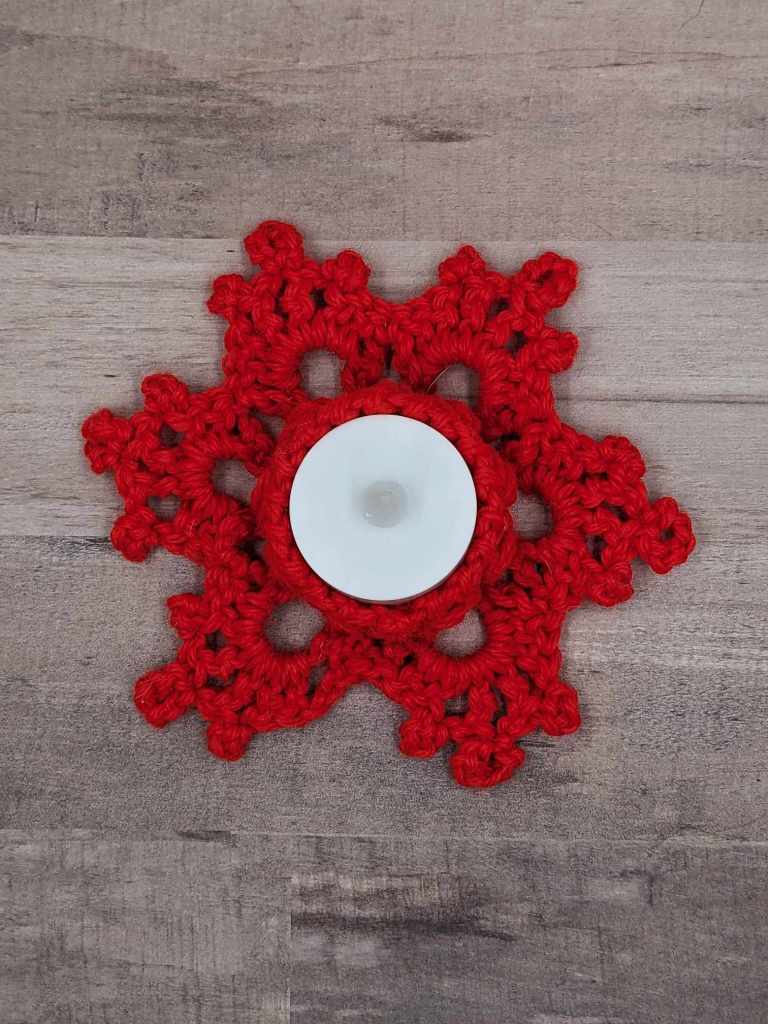
There ya go. A cute snowflake to dress up your tealights.
Once again, there is another snowflake pattern that you can receive if you purchase the printable pattern from Ravelry.
Even the tea light cover is different.